Your own contractor knows best
An antique fireback backsplash instantly gives character to a kitchen. However many people do not look forward to safely install a heavy fireback above their stove. Unnecessary as there are several ways to safely mount a fireback. We describe them here. However it is important that the best option for you is agreed with the contractor who installs the fireback. This person should ensure that the fireback is safely mounted.
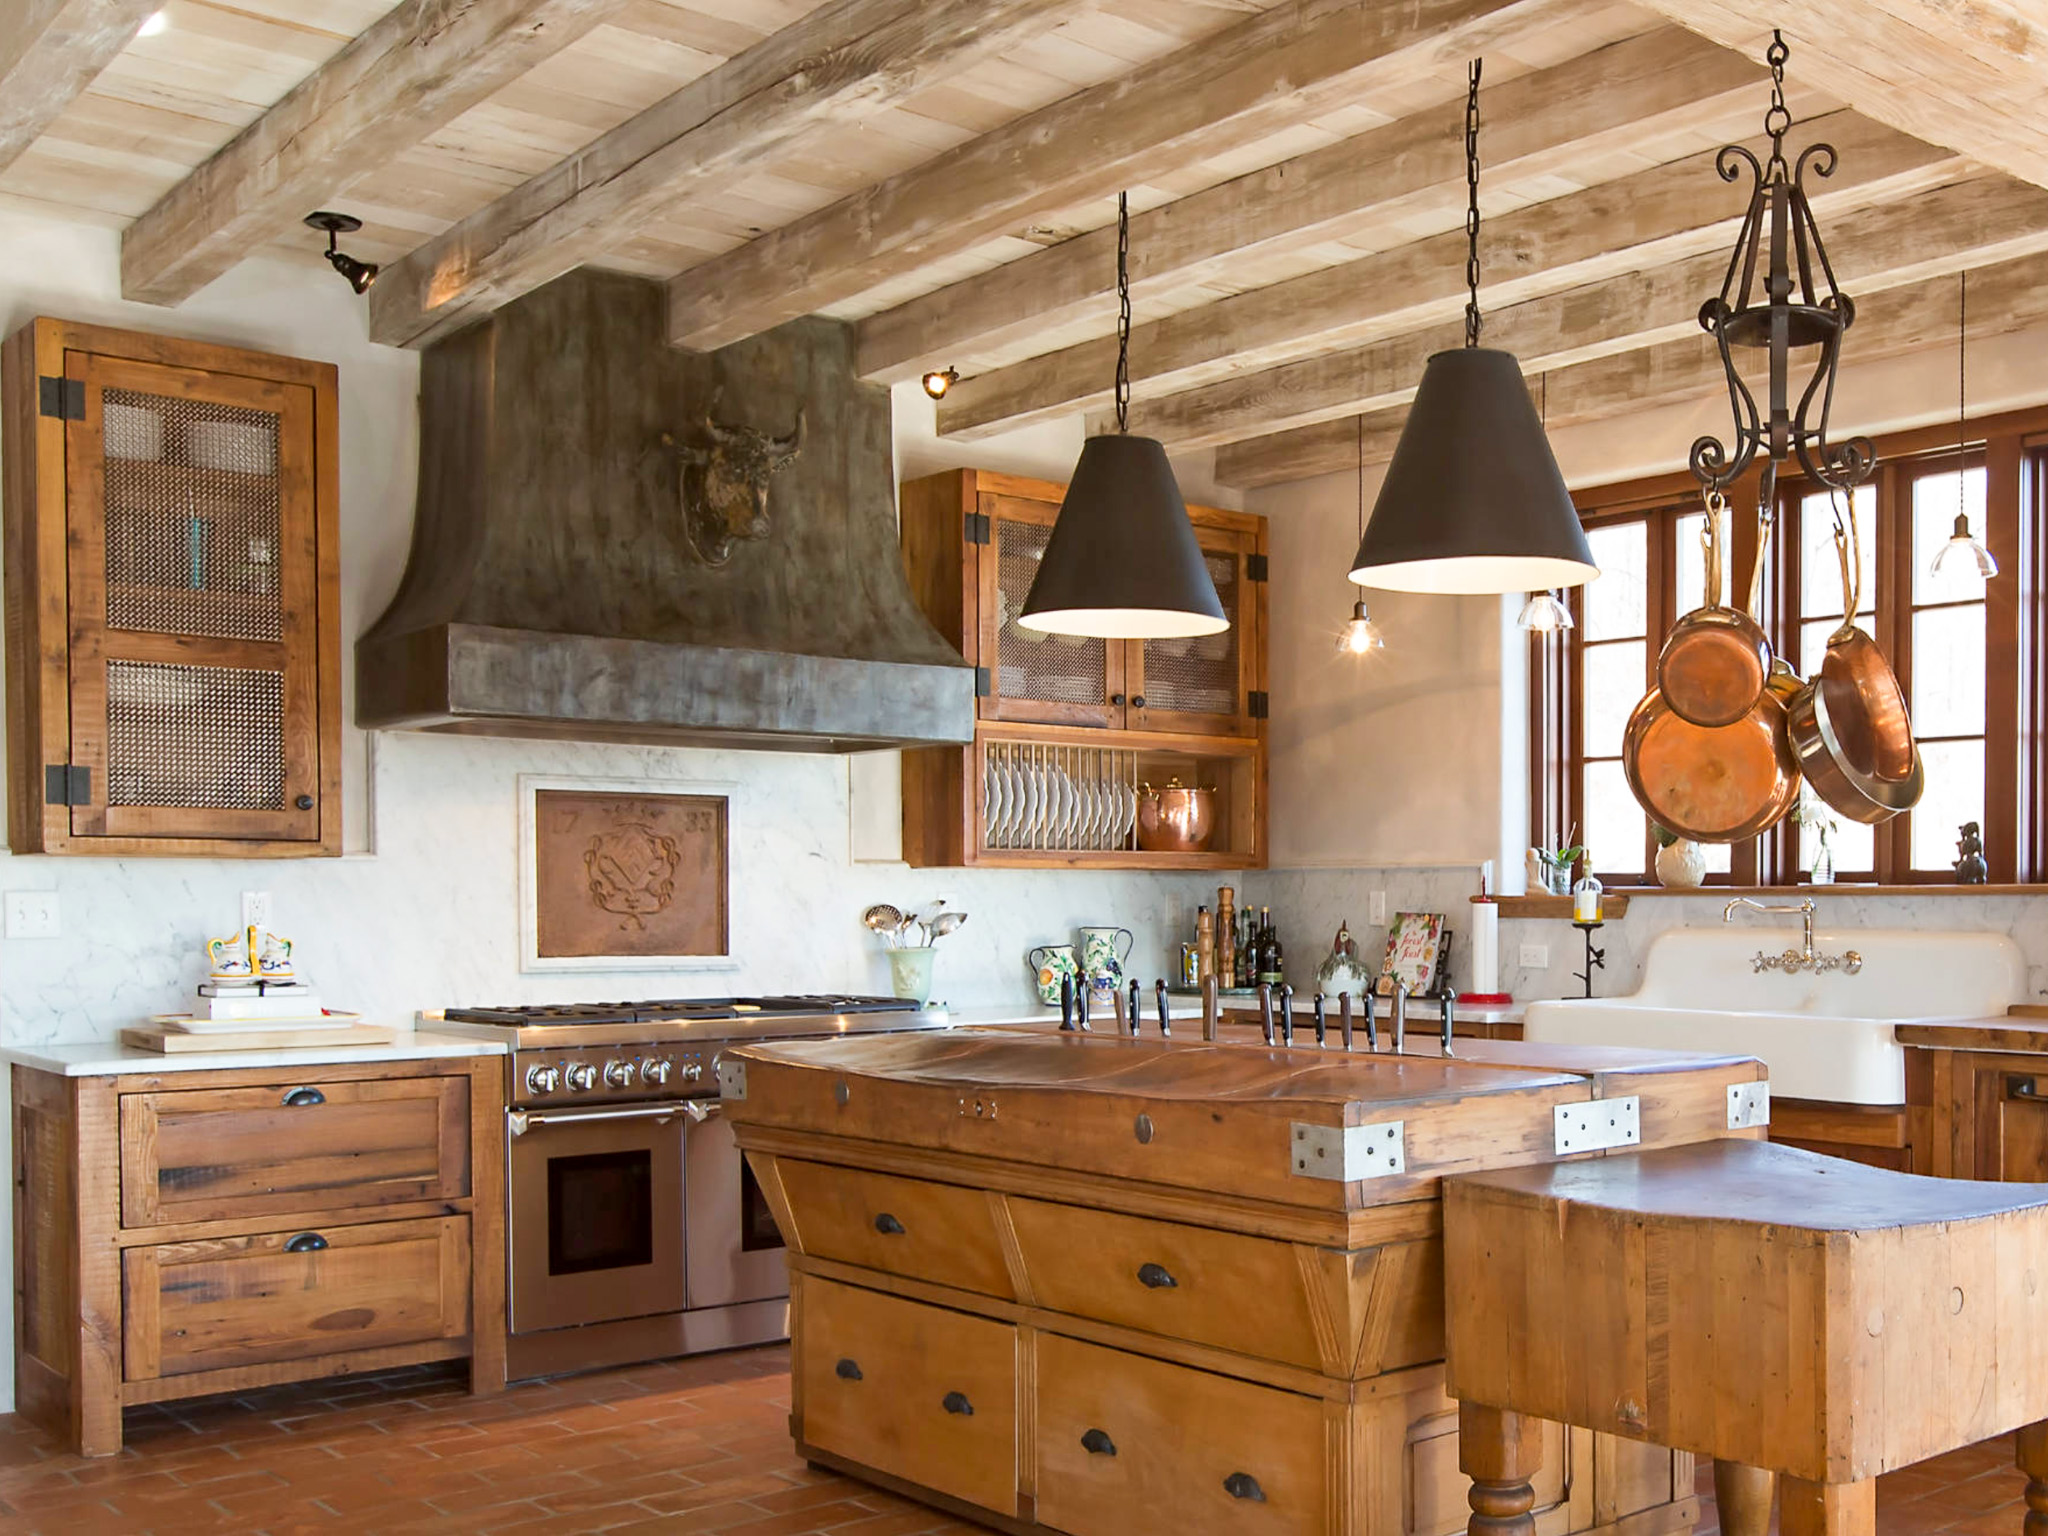
Cleaning the fireback backsplash
Most of our black/greyish firebacks have been treated with stove polish for use in an open fireplace. The ‘brownish’ firebacks have been treated with antique wax. Some of our customers who use a black or brown fireback backsplash for some time indicate that they don’t treat the fireback at all. Instead they just clean it now and then with soap and water. One option is thus to just affix the fireback backsplash in its present state and see if that works for you. You can maintain the fireback backsplash by now and then applying stove polish or antique wax. You can always treat it with paint at a later stage.
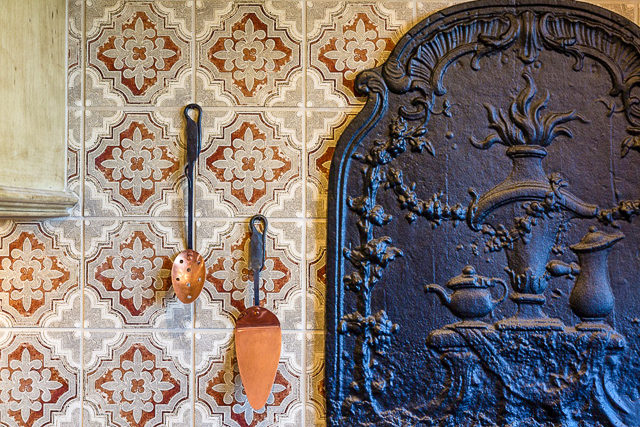
If you aren’t satisfied with the fireback backsplash as-is, you can treat the fireback backsplash as follows: 1. Remove the stove polish or antique wax with a cloth and petrol. 2. Dry the fireback with a dry cloth to prevent it from starting to rust again. 3. Spray it with a primer. 4. Spray it with paint in the preferred color. Don't paint the fireback backsplash with a brush, because this results in a thicker coat that can mar the sharpness of the picture on the fireback.
1 | Mount with our mounting brackets (stone or brick walls)
You can install any type of fireback in a stone or brick wall with our mounting brackets.
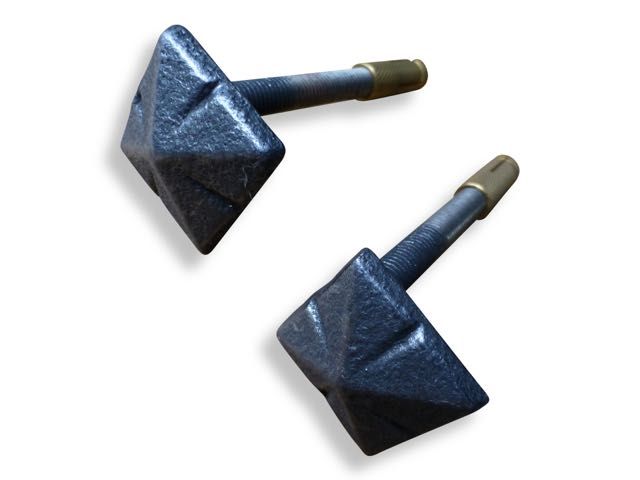
Use a least four mounting brackets (two pairs) to mount the fireback.
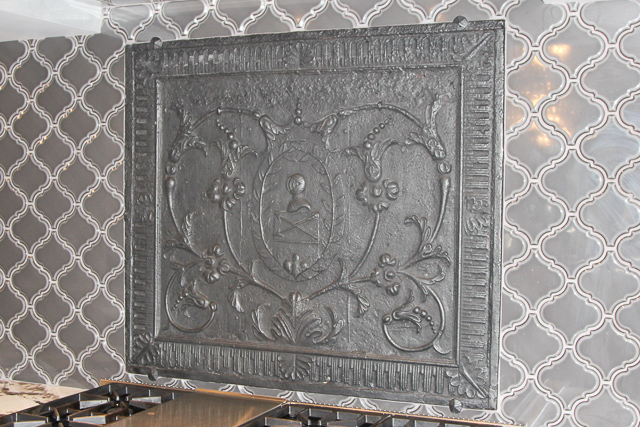
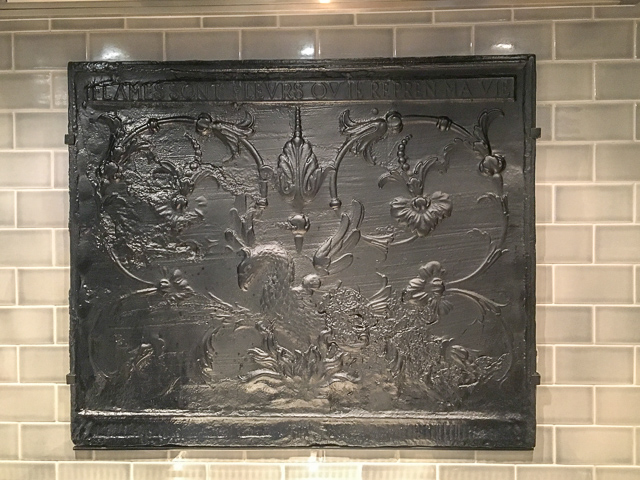
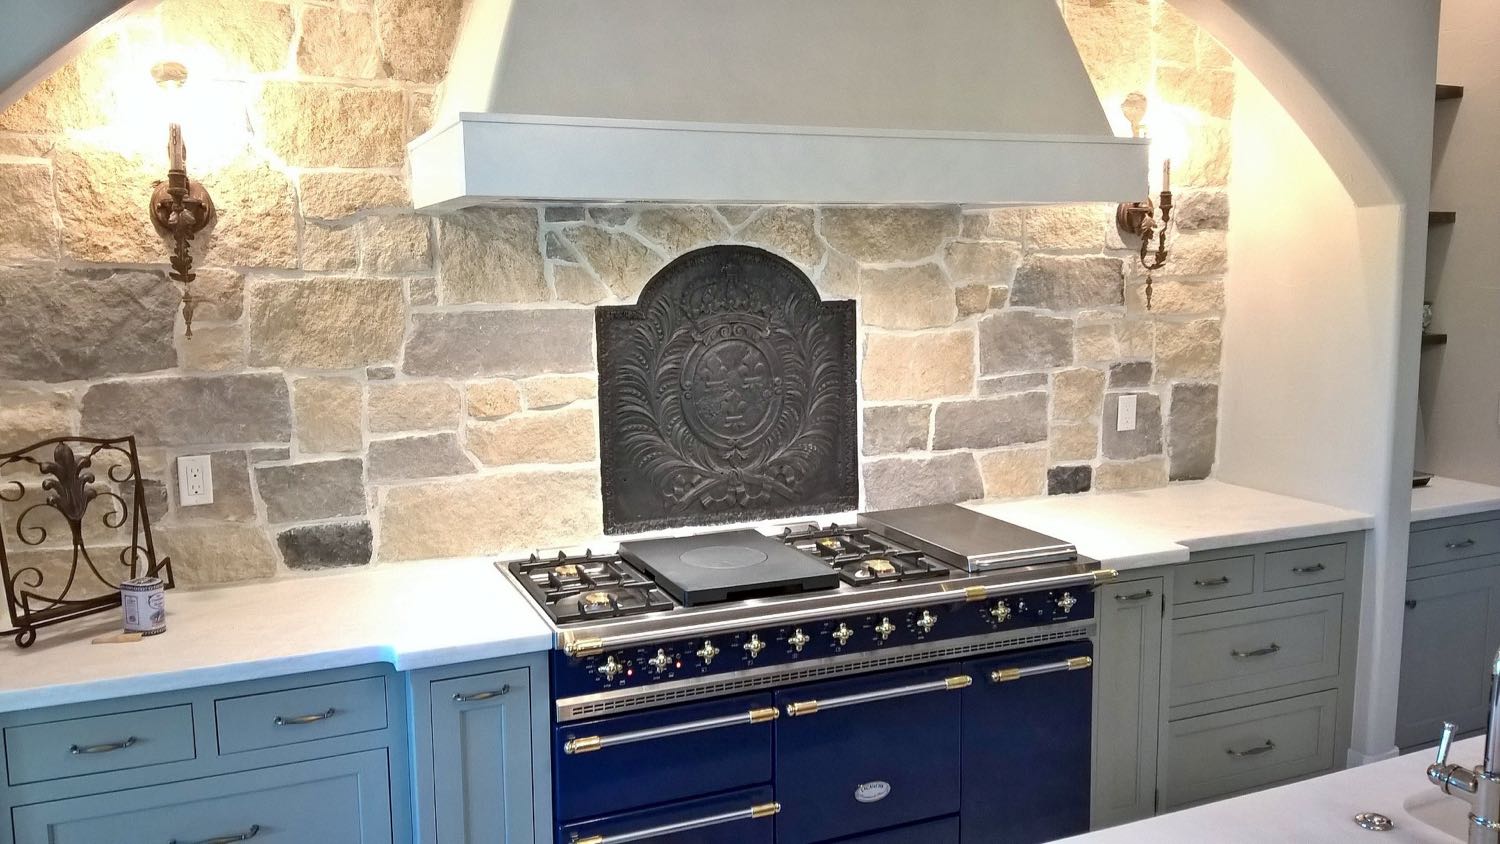
The large and heavy fireback in the picture below has been mounted with three pairs of mounting brackets.
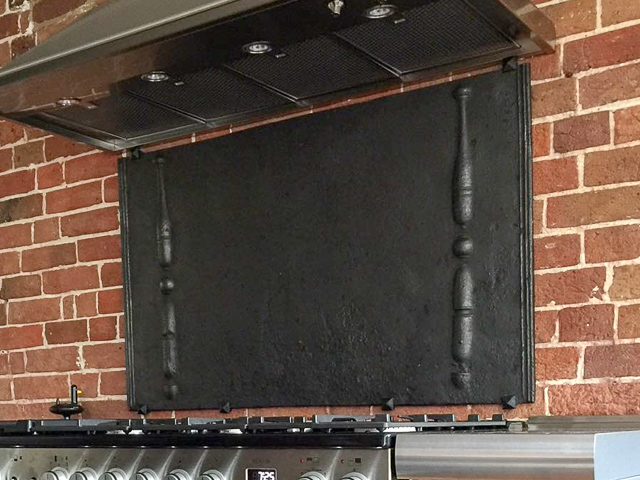
2 | Mount with regular brackets (all walls)
Alternatively, you could mount the fireback backsplash with regular metal (wall J) brackets. In a drywall with studs you can fix the brackets with screws and in a stone or brick wall you can use screws and plug. Use at least four metal brackets.
Remember, however, that both types of brackets remain visible, unless you are able to get them out of sight, for example, as follows:
- by a rim in the tiles that covers or hides the brackets
- by putting the range stove and its hood in front of the brackets

Below you can find two pictures of a large fireback mounted with brackets that were later made invisible by the stove.
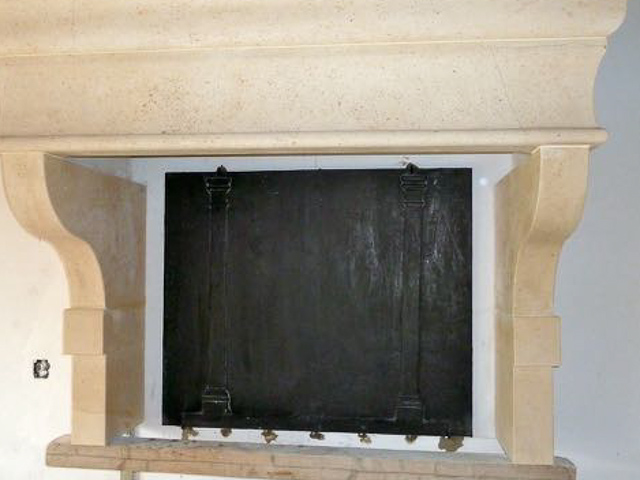
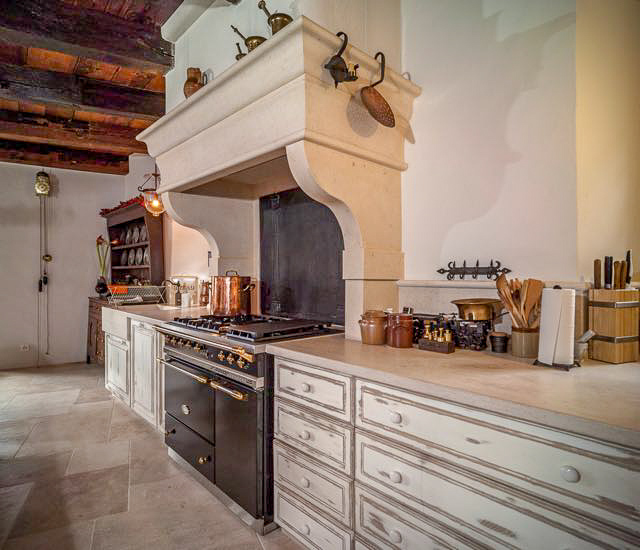
Mounting with brackets is very suitable for firebacks of all weights.
3 | Mount with welded brackets (all walls)
In a new drywall, a sturdy option is to weld ‘L’ or other types of brackets to the back of the fireback and then fix the brackets to the studs/framing of the drywall.
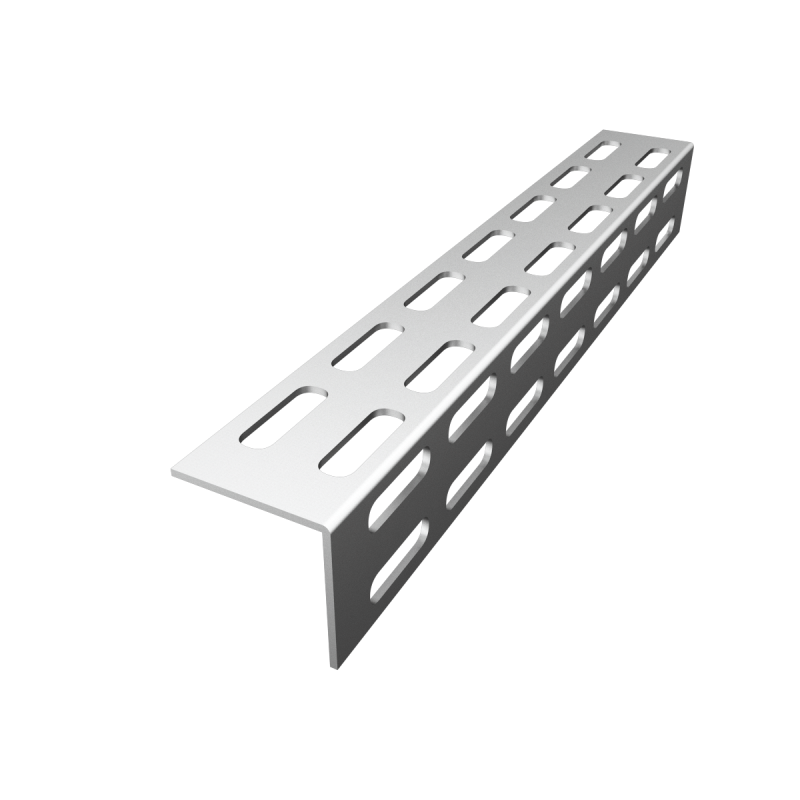
This method is very suitable for firebacks of all weights
4 | Mount with construction adhesive (dry walls)
Alternatively, a contractor can recess the fireback into a drywall and hang it with a high quality construction adhesive (rated for cast iron and your weight load). The fireback can be supported during drying of the adhesive with a temporary strip of board (see pictures). This option is only feasible for firebacks that aren’t too heavy.

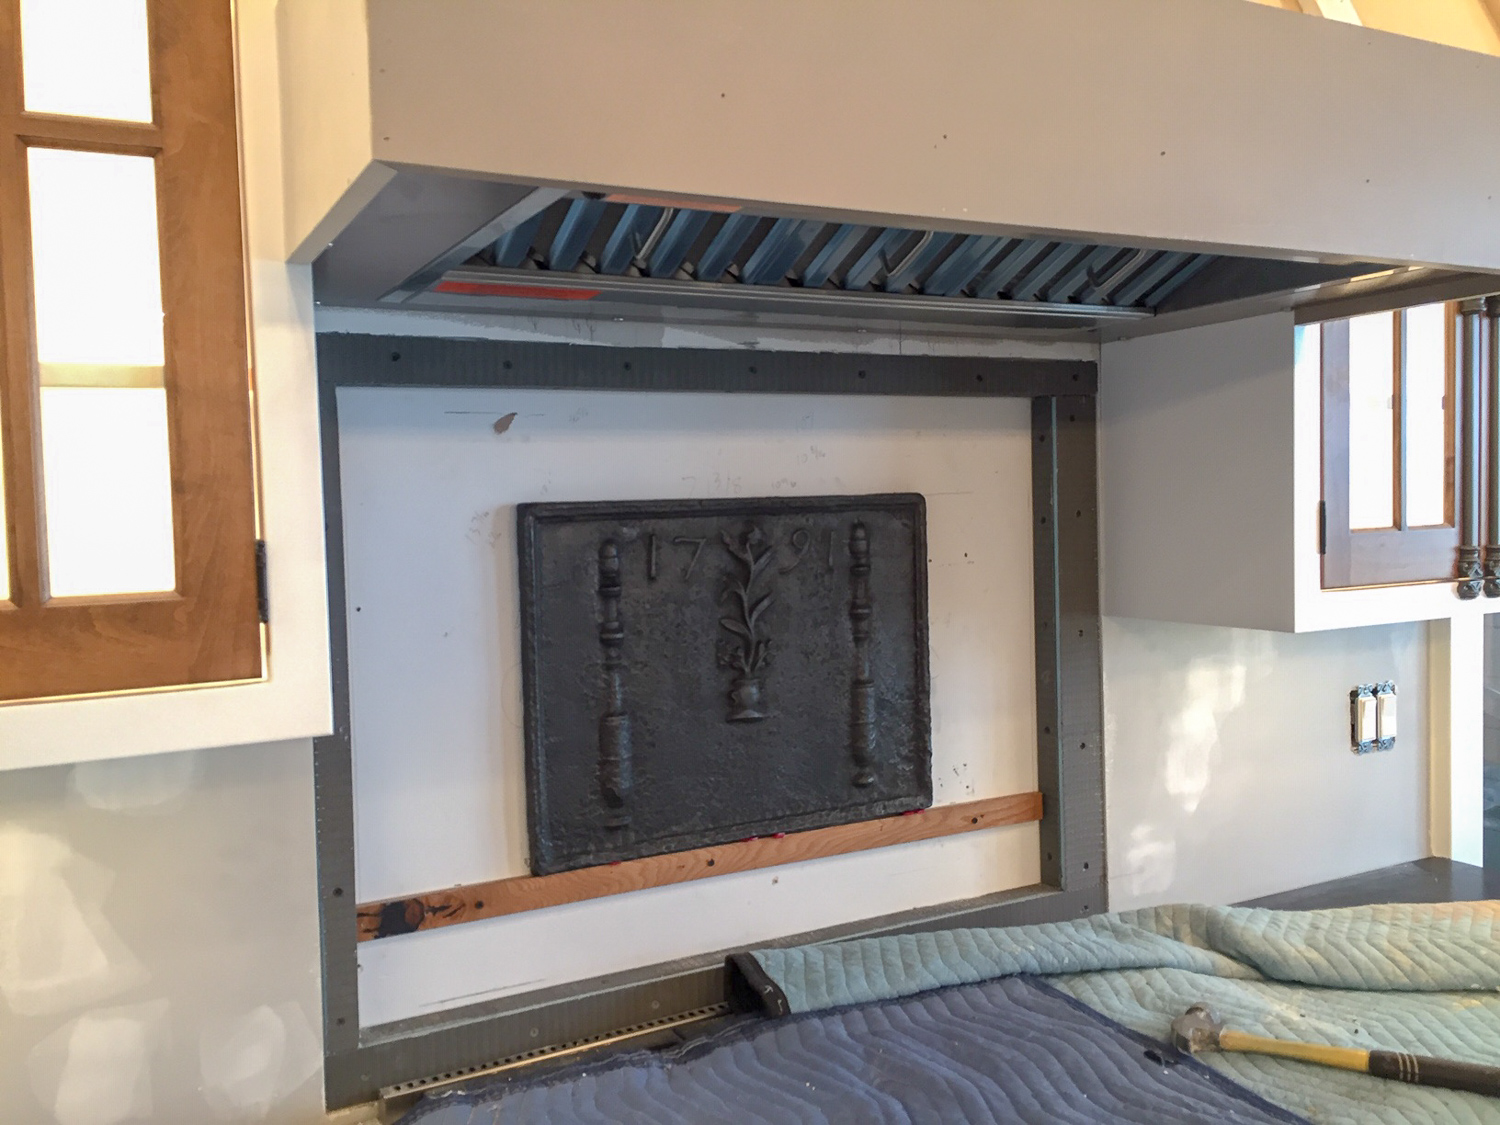
Another option is an aluminium angle screwed to the wall under the piece, with adhesive to adhere the fireback to the wall. The angle will support the weight and the adhesive will keep it from going anywhere.
This method is suitable for not too heavy firebacks only.
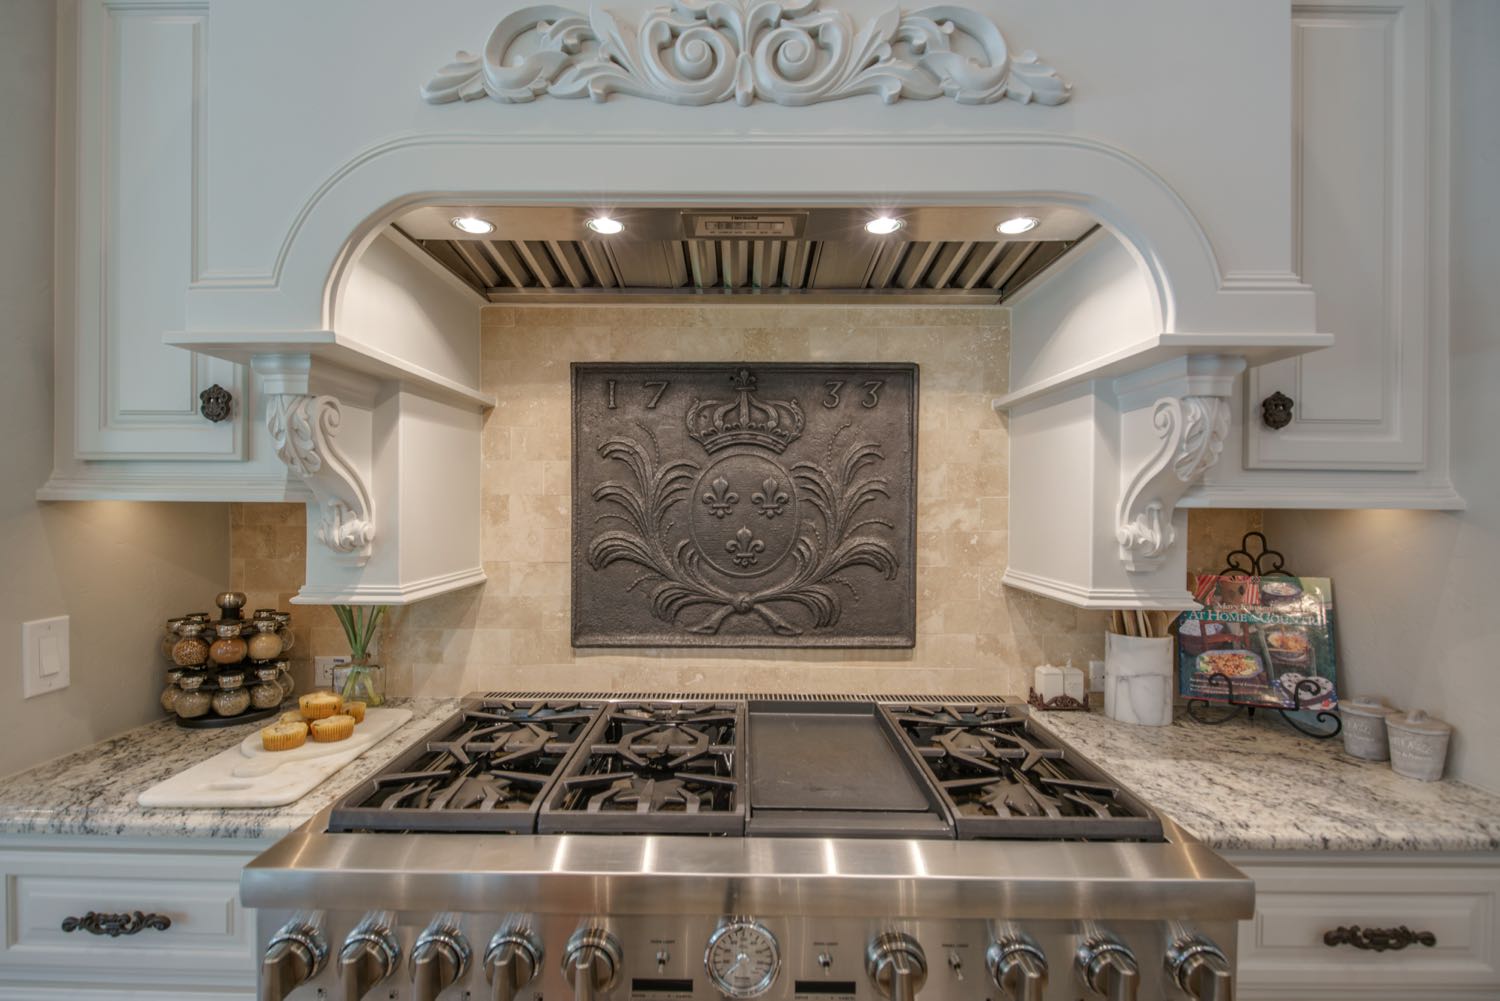
Look also at this very instructive video about using adhesives to mount a fireback:
5 | Mount with screws (all walls)
Of course, you can also drill holes in the sides of the fireback and fix it to an existing or new wall with screws. The holes can always be repaired with paste or a simple kit.
this method is suitable for firebacks of all weights.
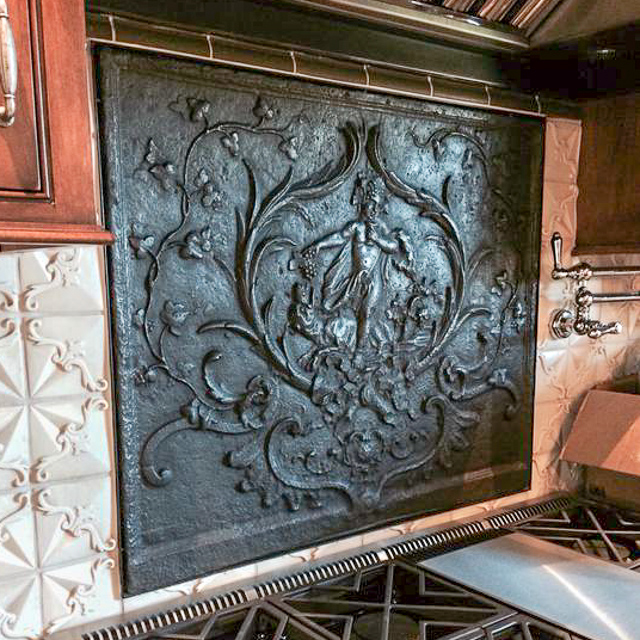
6 | Mount with screws in a wooden template (dry walls)
A contractor can recess the fireback into a drywall and screw a template larger than the fireback into the studs during the drywall installation. Then fix the fireback with screws all around the fireback edge to the template (see pictures).
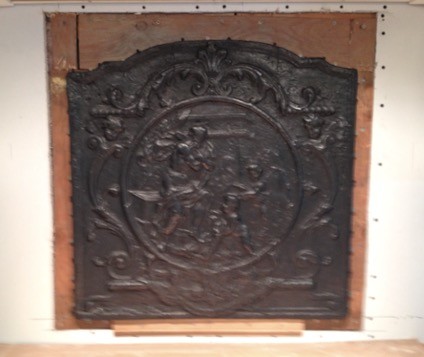
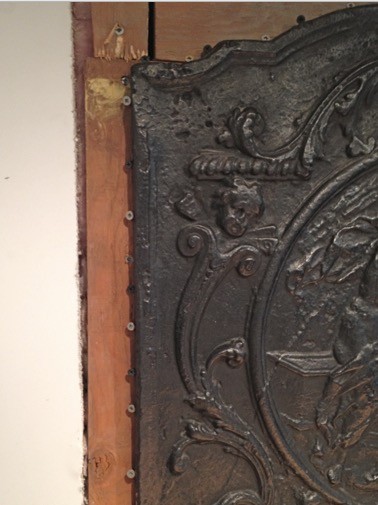
In addition a wooden or aluminium brace could be screwed into the template to support the weight of the fireback.
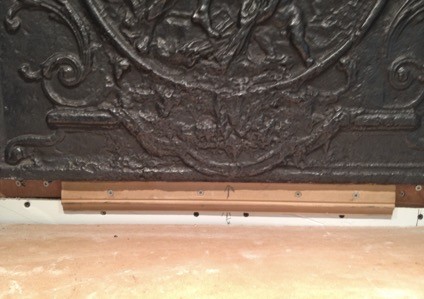
If the tiling around the fireback is very neat, the screws disappear with some silicone kit between tiling and fireback.
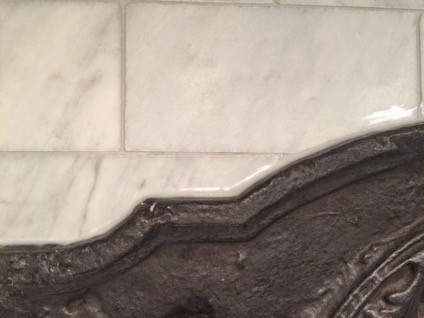
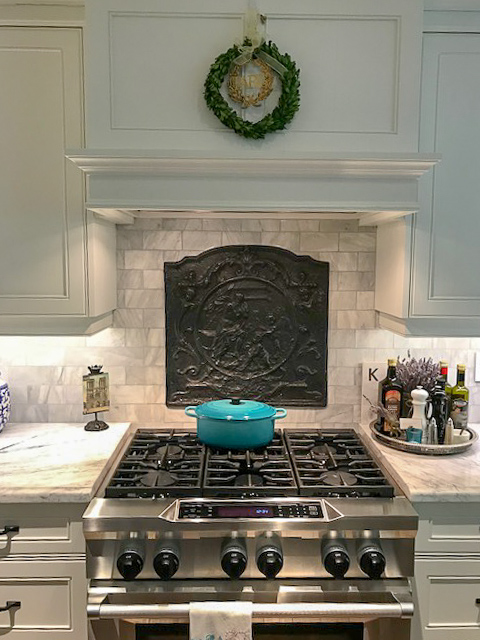
See also a nice description on line of our clients about their experience with mounting their fireback as a backsplash in this way: Fireback installation in Cardinal House.
Browse our webshop
Browse here our current online stock of 500+ antique and vintage firebacks.
View our mounting brackets for sale online.
Learn more
Everything you need to know to choose a fireback
A brief overview of the history of the fireplace fireback
What to do about a fireback with a crack?
How do I decorate my fireplace?
How do I decorate my unused fireplace like a real fireplace?
How do I protect the wall behind my wood-burning stove?
Nice gift ideas for fireplace lovers
Look here how Brie Larson enjoys her kitchen with an antique cast iron fireback backsplash:
